![]()
Miscellaneous Stuff
Bits and pieces
By Gene Pape
June 2021
More on Batteries
I doubt I’ll ever quit learning about this hobby.
I’ve written at length before about batteries. This is a quick composite about what I think I’ve learned in the past year.
Glow plugs were designed to work with 1.5 volt dry cells. While the common 1.2 volt nicad-powered glow drivers work fine if all is well, higher-voltage batteries work better if the engine is flooded. The 1.5 volt dry cell is a very good glow plug power source.
My go-to staring battery is four Duracell alkaline batteries wired in parallel. You can make these yourself or Batteries Plus will make them up for you. While I like to add a meter in the circuit, this is a luxury for checking your glow plug, not a necessity. For most people, a power panel is a very good choice. Its pulsed power supply is very good for burning out floods. I have found the power panel to be hard on Nelson glow plugs, but this doesn’t seem to apply to other glow plugs.

Current starting battery setup uses four batteries wired in parallel with a meter for checking the plug. All photos by Gene Pape.
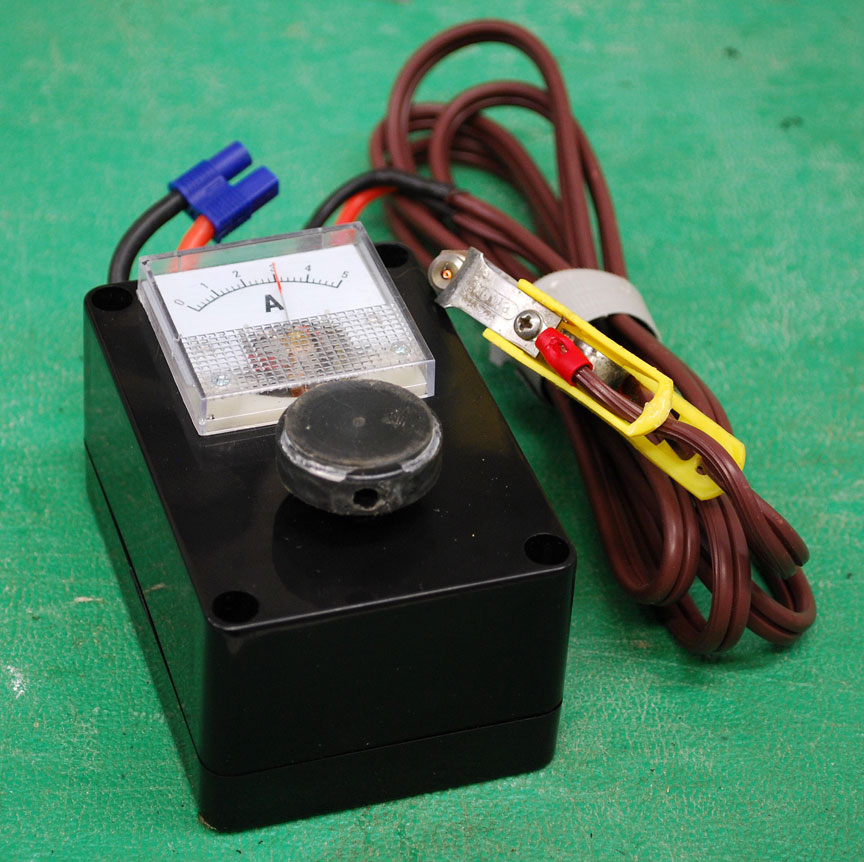
The adjustable battery with meter and rheostat. All photos by Gene Pape.
I have also built a starting battery using 2 sub-C NiMh rechargeable batteries wired in series with a meter and a rheostat to reduce the voltage. While this works well, it hasn’t proven to be sufficiently bulletproof and can be turned up enough to burn out glow plugs.
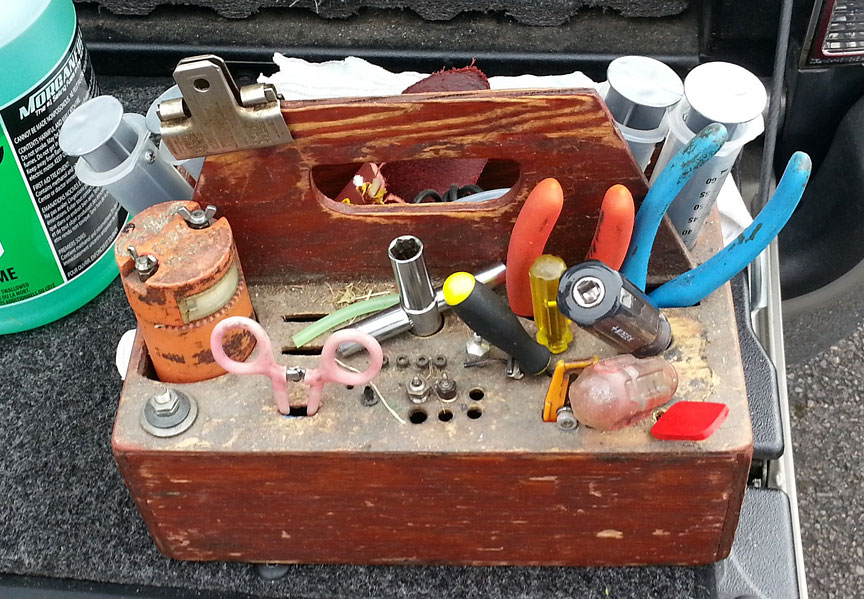
A Glo-Bee Fireplug in John Thompson's Combat pit box. While the Fireplug units are no longer sold, the cells can be purchased and recharged with most modern smart charters. Incidentally, the pit box has been in service for approximately 40 years. It contains everything that might be needed during a Combat match, and nothing extra to get in the way. A dedicated spot for everything helps prevent fumbling for the right item in the heat of competition. (Empty slots in this picture are for spare props.)
Finally, there’s the 2 volt lead acid-powered setups with rheostats and meters. The Glo-Bee Fireplug is the easiest way to do this. Others have made their own using a 2 volt lead acid battery, a similar rheostat, and an easy-to-read meter. To me, this may be the best — while it has the power to burn out floods, the 2 volt battery won’t burn out plugs and the 2 volt lead acid batteries are virtually bulletproof. As an added note, a lot of people have stopped using Fireplugs because chargers are no longer available. Most modern chargers made for model power systems can be set to properly charge these batteries.

Despite the old-fashioned finishing method, the vintage Sneeker was easy to de-warp.
De-warping
I’ve hardly covered any models with anything other than plastic film for decades. One of the big plusses of plastic film is that you can easily straighten out warped surfaces with an iron or a heat gun. When I built the Sneeker for the March 2021 column and covered it with exam table paper it wound up with a significant warp. At the time I ignored it as all the methods I’ve used in the past were a large pain and I wasn’t planning on flying it any time soon. I got it out today to show some parts of how it was built to a friend. When I got it home I thought it would be worth trying to take the warp out. I got out my Monokote heat gun and treated it as if it were covered with Monokote. The warp came out just fine.

The updated Undertaker Fast Combat plane is a redesign of an early 1980s plane that was published in Model Aviation in October 1985. Gene has added notes to the photo that describe the features of an ultra-simple, good-flying Fast Combat plane. Bellcrank is an H&R shutoff; original design, before emergence of shutoffs, had internal controls.
The Easiest Fast Combat Model
In the early ‘80s John Thompson designed a foam fast combat model called Undertaker. It was a groundbreaking model at the time, and he decided he wanted to build another one for sentimental reasons. Since his foam cutting equipment went away many years ago, I agreed to make the cores for him.
While I thoroughly messed up the first pair of cores, I couldn’t bring myself to throw them away. I decided to make the simplest cheapest model I could using them. I called the resulting model Frugal Undertaker. I expected the model to be thrown away after a few test flights. Much to my surprise, and in spite of all the terrible flaws in the cores, it flew great! The picture is anotated with the mode'ls features. It may give you ideas how to build something simple.
The original Undertaker article can be seen in the Academy of Model Aeronautics' Model Aviation library, and the plans still can be purchased from AMA.
Back to Miscellaneous Stuff main page
Back to Regular Columns
Back to Combat section
Flying Lines home page
This page was upated June 18, 2021