![]()
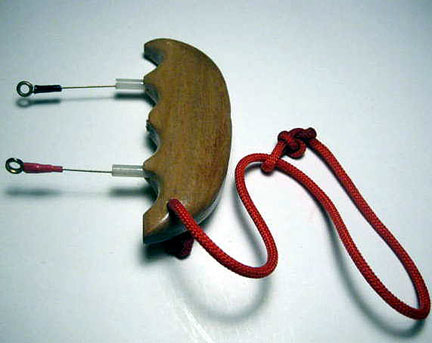
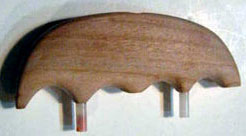
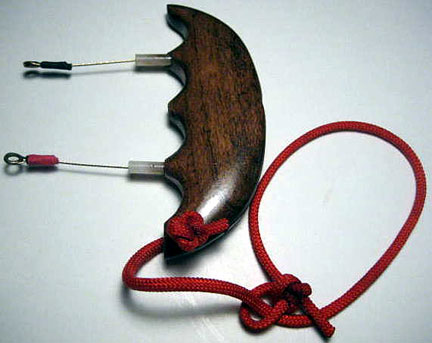
The Dick Salter-style handle, made out of cherry wood by Buzz Wilson. All photos by Buzz Wilson.
At a recent contest, I saw Dick Salter's hand-made handle. It was a beautifully crafted piece of wood and put to shame my combat handles. I decided I would make one.
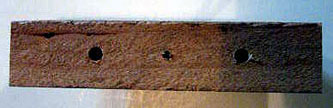
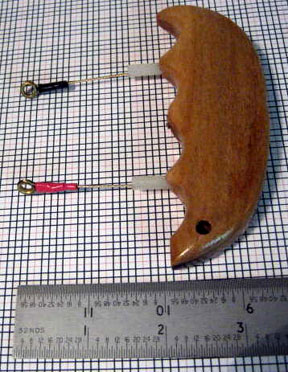
As you look at the photographs, you will notice that the wood is a different thickness in the first photos. This was caused when there was a problem drilling the holes and I had to start over.
It took about five hours to get the handle ready to assemble and then another two to assemble and finish. Most of this time was waiting for the Polyurethane to dry.
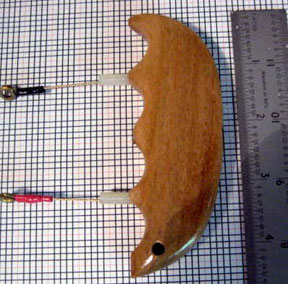
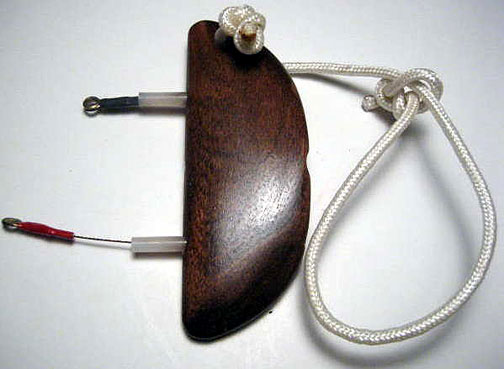
The handle that I made has two-inch spacing. This is ideal for Half-A combat and works well with the speed events that I fly. I have not provided any dimensions since you will need to customize the handle to what feels comfortable. I did make the bottom of the handle longer to accommodate the safety thong. In the photo that shows a handle without the finger notches, the safety thong is on top. This handle will be used for speed. Placing the thong on top keeps it away from the pylon.
I am using a piece of Cherry for this handle. Other materials that you will need are:
Two plastic standoffs (local hardware store) 3/16 inch OD
Step1: Cut rough shape rectangle
Step 2: Mark holes for spacing and center
Step 3: Drill pilot holes. Note photo shows center pilot hole
Step 4: Using a Forstner bit, drill center hole to final depth. Approximately 5/16 inches to the bottom.
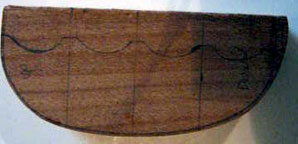
Step 5: Cut rear curve shape. Note I have marked finger positions.
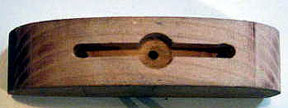
Step 6: Route slot for cable. Start the route in the center and work to each end. Do this is steps gradually increasing the depth of the cut. What you want to do is route to the bottom of the center hole. Do not thin the blank before you do the route. You need the extra material when you route or you risk tearing the wood and ruining your project.
Step 7: Rough-cut to final shape
Step 8: Final sanding to shape. I use a Dremel with a drum sander to shape the grip. As I am sanding I constantly check to make sure I like the feel.

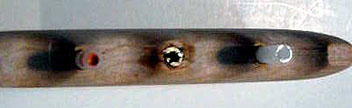
Step 9: Install guides and blind nut. To keep CA from the inside of the blind nut and guides, I take a piece of clay, place it in the end, and then put a drop of oil into the hole. I then close the open end with clay.
Step 10: Install cable. Before you install the cable take a piece of music wire and push the clay from the inserts and blind nuts.
Step 11: Finish
Here you see two handles one vanilla and one chocolate.
The following handle is made the same as the above without the finger grips.
If you would like to build one of these, but do not have the tools, contact me and I can provide you a kit (for a price). This would be the wood drilled and routed and the rear of the handle rough cut. You would need to send me a template for the rear shape of the handle and the line spacing. See Step 6 above. I can include all the hardware you need to assemble the handle or you can purchase this yourself. You will need to final sand and assemble.
This page was upated Nov. 1, 2009