![]()
 Yes Folks, it's true ...
The term "Chinese take-out bag" was coined by the Buzz Man while he tutored new fliers.
"Get a real pit box and don't use that Chinese take-out bag."
There is however, a take-out bag PIT BOX that in spite of what The Buzz Man says, may serve you well.
The Champion, weighing in at 13 lbs and preferred pit box of cabinet makers and true craftsman for over 20 years, The Buzz Box!


The Challenger, weighing in at 6 lb, used by a minimalist from Detroit, Ed Brzys! The Chinese Take-Out Bag!
Ed, is a master combat flier and one of the best pit men in the U.S. making him a formidable opponent.
Not even close, first a bit of mind set. The inventor of the Buzz Box is an Engineer, the inventor of the take out bag is a technician. The engineer will insist that a place for everything, and everything in its place. The technician will insist that it must be simple and functional. Thus we have two differing opinions of the layout and content. Look closely at both, especially the take out bag. While dingy and apparently left in the rain for several years, you may notice that it carries the necessary tools and present them in quick to grab locations. One box is really no better than the other in a pitting situation as has been proven by Ed , for as many years as the Buzz Box has been upstaging the worn out triangle. Let's try to make one and see what happens.
 There are two schools of thought here,
Both boxes are of the second philosophy, but the take out bag leads in the minimal amount of items. Having said that, let's lay out the bag according to the Buzz Box requirements and see what happens. This is not unlike putting lipstick on a pig but here goes.
)Notes below taken from the New Buzz Box article.)
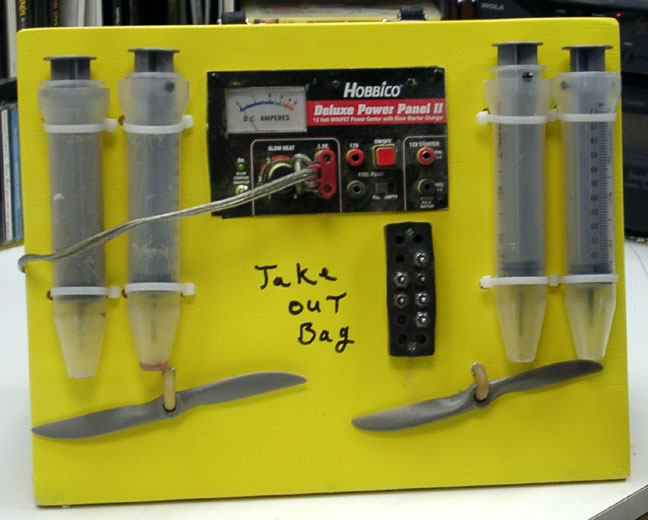
Panel 1
Fuel Items
Propeller Items
On the same panel, are propeller related items, which include the following:
Also included on this panel are two cutting tools; a razor blade and a pair scissors *(reduce to one cutting tool, put others in general tool box.)
Panel 2
Panel 3
This panel has tools for socket head cap screws and the glow plug caddy. *(Put in general tool box. Move Glowplug caddy to Panel 1.)
Problem # 1. There is no third panel on the Take-Out Bag so let's rearrange! See * for rearranged items.
Inside the bag.
Me either. I guess this is why there are so many messy pit boxes, they grow in scope. The idea is to just bring what you need for the match. Since I can no longer visualize this thing, and I'm the writer, we'll lay it out as we build one. To relocate some of the excellent tools in the Buzz Box, we'll need a "general tool box" to put them in, it will need to be organized or chaos will ensue. Good luck, possibly someone else will show a good general tool box.
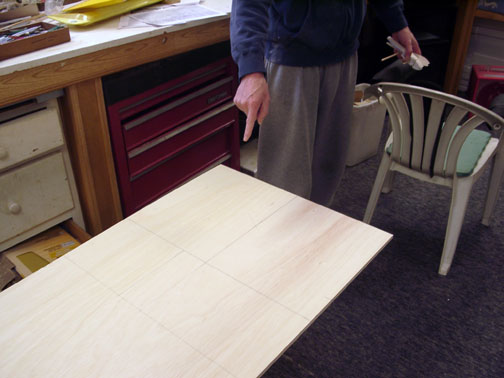
The idea here is to make a triangle out of some 1/2" thick plywood so I'll arbitrarily select a side dimension of 12"H x 15" W, 8" base. the angles should be 42 deg. Let x be one of the two equal angles. The sum of all the angles in any triangle is 180°.
x + x + 96° = 180° ==> 2x = 84°
==> x = 42°  but hey, it is after
all it's just a take-out bag, we'll just try to not get a rhombus..
but hey, it is after
all it's just a take-out bag, we'll just try to not get a rhombus..
Materials:
The figure above is all well and good, however, trying to glue a slippery three sided puzzle without a clamping system proved to be daunting. Holding the thing while you nail is like ordering grits in New York, it can't be done ... hmmmm.
Okay, got it. We'll change the angles to have the top sides meet asymmetrically, allowing us an easier top joint. All this could have been avoided if I had a nail gun ... but no.
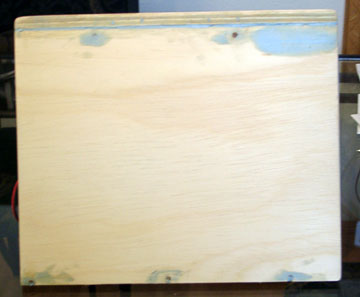
A few pilot holes glue and dry wall screws gave us our basic triangle. Later, after the glue dried, I replaced the screws with wooden Dowling just like one of those TV shows. Hammering in wooden pegs on a project makes one feel quite Amish.
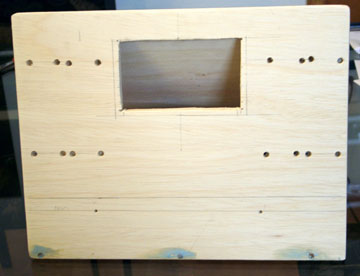
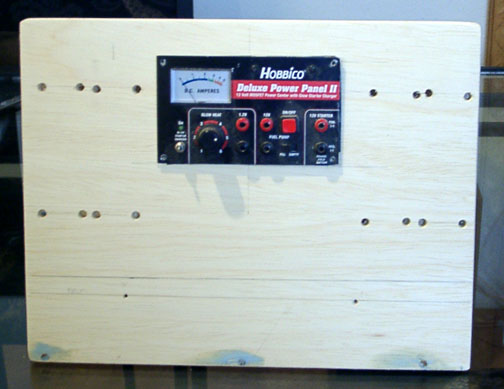
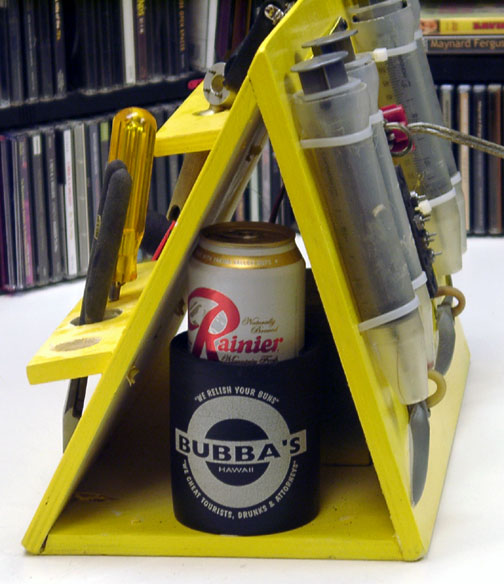
The layout of the front panel included nearly all of the Panel 1 items shown on the Buzz Box, most importantly the panel meter, fuel syringes, props and glow plugs. The battery was glued to the inside using Gorilla glue.
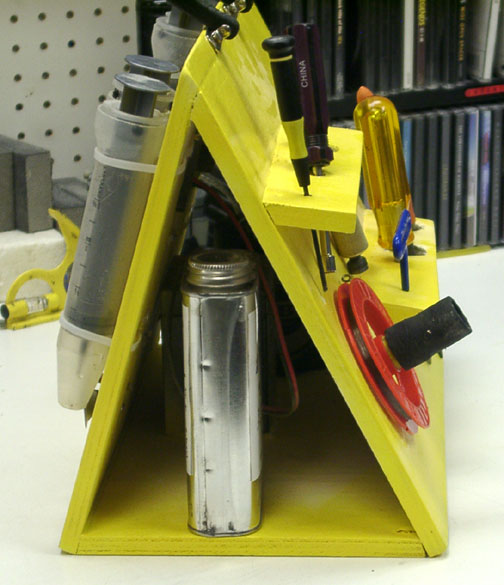
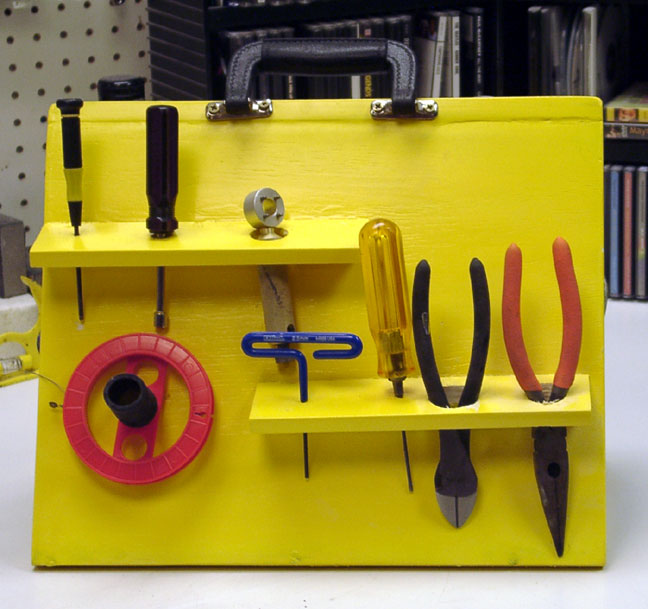
The other panel will be used primarily for tools such as nut drivers, hex wrenches and misc items. To hold them, I have installed two shelves that are drilled out for the tools.
You can opt for the no finish look and after a few years have one just like the original, or you can paint it. I chose to paint it.
Sanding and a coat of varathane gives us a nice fuel proof under coat. A coat of primer from the local hardware store and top coat of Rustolem finished off with a fuel proof clear will result in a decent looking take out bag.
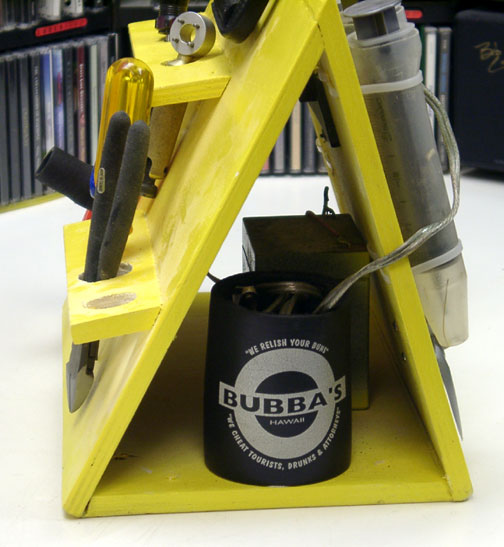
To the casual observer, it might appear to be just a take out bag. On closer inspection you may note some special features. A good pit box is versatile and is demonstrated by the Bubba's beverage insulator. Purchased in Hawaii and donated by The Rain Man, the holder contains the required 4 ft of glow-plug wire and clip. It was held in place with Gorilla glue with no over-rubbage. The holder has other uses as well that are frowned upon by the AMA as well temperance zealots far and wide.
Over-rubbage: (Noun)~ an excess of Gorilla glue that oozes in a generally distressing manner.
Good luck with the Take out bag, it's been fun making it and a challenge to reduce tool count.
-- Kenny-b
This page was upated April 29, 2010