The Broadway Bod Busters
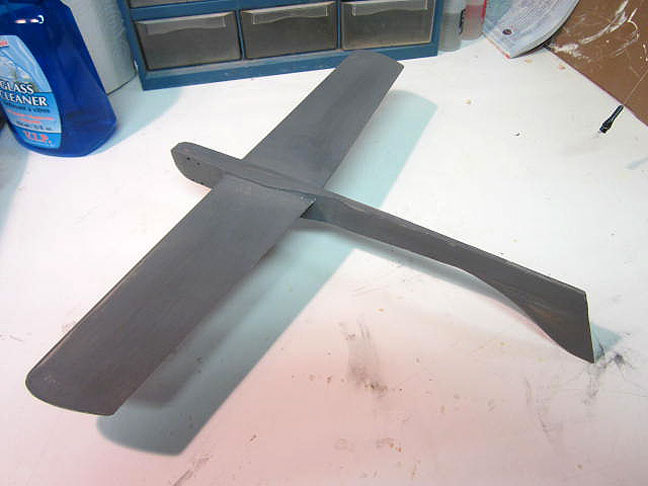
The Prowner 1/2-A Proto Speed plane built from a Bob Whitney kit, awaiting its engine. All photos by Ken Burdick.
Ken builds the Prowler
1/2-A Proto Speed plane from a kit by Bob Whitney
(EDITOR'S NOTE: Previously, Ken reviewed the Prowler 1/2-A Proto Speed plane kit by Bob Whitney. This follow-up is on the construction. See the review for kit details.)
Yes Folks, it's true.
I have purchased a kit for perhaps the simplest model airplane there is to create yourself a 1/2A Proto Speed plane. The kit did however have many super features that are not so easy to build, such as the bellcrank with line buttons, a perfectly made fuel tank, Glen Lee wheels and a landing gear all fabricated. Bob Whitney has made a beautiful little kit of the Prowler, as shown earlier in Flying Lines.
 Shop-ping Shop-ping
Having moved to Canada recently, I had just finished building my workshop. It was a lot of work as the room was once used for a darkroom with a gigantic water bench developer that was 4x8 feet, and it had to go. When I got things under control and was wondering what else I needed in there, and what should move to where, it occurred to me to build a model and that would tell me all I needed to know. So I built the Prowler. It would require me to use most all of the tools I had arranged as well as finish work.
Kenny-b and the Rein man totem ranked shop tools (for us anyway) and decided them by how much we used each one. The order is below arranged by frequency of usage.
• Disk/belt sander
• Band saw
• Drill press
I had all but the band saw and bought a low priced one at the local Home Depot. A 9” throat Ryobi. It works great, is very versatile and cost less than a good 1/2A Combat engine.
What's Mark Hansen doing in my shop!!!
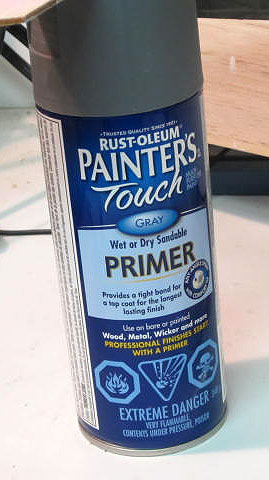
I had just finished reading Mark's article about uniflow tanks when I noticed the Aeromaniacs tips website at the end of the article. went there and found some pretty cool stuff about finishing with hardware store rattle cans. (Rust-oleum) Since where I am now, (small town) there are few suppliers and it's very expensive compared to Seattle suppliers. I picked up a can of sandable gray primer and some yellow, along with a small container of light weight spackle.
Test…test…1,2,3
For once, I thought I would try what the very first thing I read about finishing as a kid, "TRY IT ON A SCRAP PIECE FIRST." Right ... I actually did. The 3/16 piece of balsa was coated with a watered- down spackle and I learned to wet the wood (just like they said) -- it coated much more evenly. Let it dry and then sanded it. No weight gain on my Phillips digital scale.
Next I shot it with sandable Rust-oleum gray primer from their “painters touch” product line. Two coats of this and sanded it with 320 grit, as they said in the article ……..negligible weight gain.
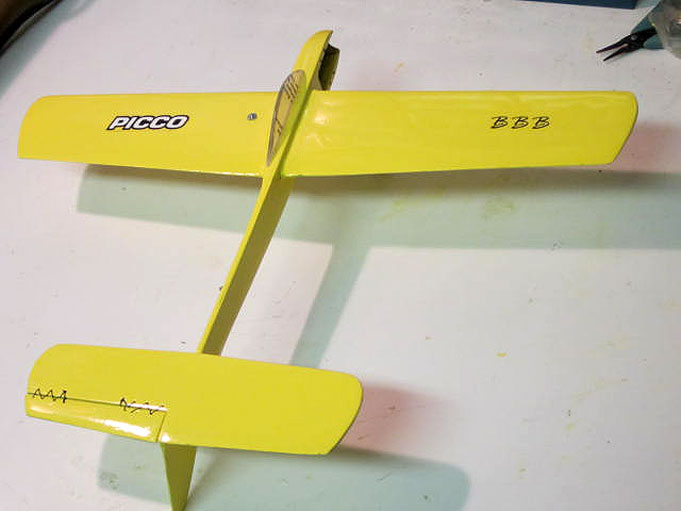
The test piece was then given two coats of the same brand/series yellow. The results were not bad considering there was no silkspan on the wood and I thought it would work well enough for a little 1/2A proto.
Weight, weight, don't tell me!
The prowler all but built itself and in the process I found many little things needed for the shop. A few changes were made to the airplane, but just for my own preference. Things like a subrudder instead of a top rudder and I added piece of wood to space the deep Picco P-Zero block in the mount so it wouldn't hit the inside of the cheek cowl. The prowler started out weighing 48 grams built without landing gear. With the hardware, spackle, primer and two coats of yellow, the Prowler increased to 56 grams. With all parts tossed on the scale including a fat little engine, and the much sought after Louie-Louie 1/2A speed prop, the Prowler weighed in right on target. 5 oz.
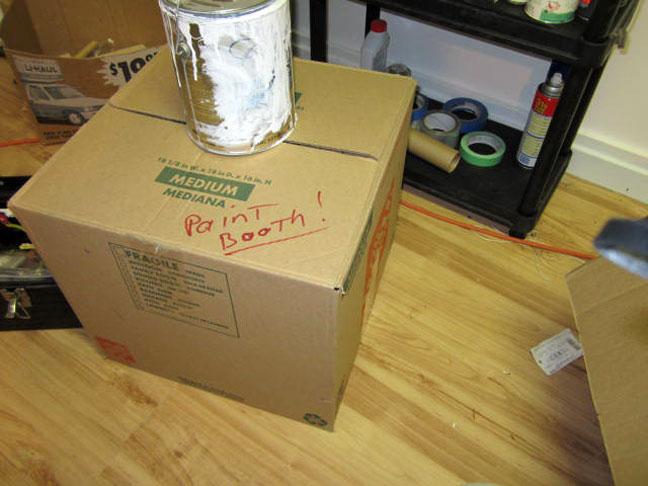
So there you have it, folks, a decent finish CAN be achieved right out of your hardware store at a fraction of the cost. The odor of the finish materials is less than that of dope for sure but I have made a containment box for painting the Prowler in and it helps with the smell a bit.
But wait! There's more!!
As my fellow Bod Busters know, if I get a decent paint job, it's because Buzz Wilson did it. I decided this nonsense had to stop because now The Buzz Man lives 400 miles to the south. 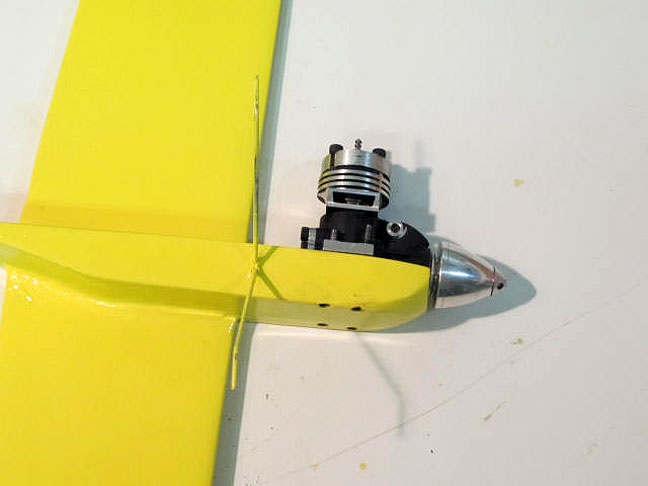 Using the rattle can paint was going pretty well. So well in fact I decided to go for a high gloss finish that was touted in the article. Well ... some things are meant to be while others are just plain silly, mine was the latter. The paint instructions show a 24-hour drying time and I stuck to it. At the 24-hour mark, I sanded the two coats of yellow with 600 grit wet sand and the paint seemed as hard as some epoxies I have used. As I slowly worked out any flaws, I thought to myself, “this is it! The simple answer to the spray/solvent clean up mess. I'll just use rattle cans!” I put the Prowler into my paint booth, (cardboard box) and shot the wet glossy coat on it ... boy did it look good! I carefully closed the box flaps and left for an hour or two. When I returned, I was rewarded with a beautiful crinkle finish. (Queue the somber music) Using the rattle can paint was going pretty well. So well in fact I decided to go for a high gloss finish that was touted in the article. Well ... some things are meant to be while others are just plain silly, mine was the latter. The paint instructions show a 24-hour drying time and I stuck to it. At the 24-hour mark, I sanded the two coats of yellow with 600 grit wet sand and the paint seemed as hard as some epoxies I have used. As I slowly worked out any flaws, I thought to myself, “this is it! The simple answer to the spray/solvent clean up mess. I'll just use rattle cans!” I put the Prowler into my paint booth, (cardboard box) and shot the wet glossy coat on it ... boy did it look good! I carefully closed the box flaps and left for an hour or two. When I returned, I was rewarded with a beautiful crinkle finish. (Queue the somber music)
Crushed is a strong word, ignorance is a better one. I waited another 24 hours and sanded out the finish. Recoated the stupid thing with a fog coat and then a regular coat. This time there was a patch only of crinkle finish. I had been cleaning the monster with isopropyl alcohol and letting it sit to completely dry before any paint so what's with this reaction? It didn't occur to me until the bottom reacted the same way. I grabbed the sample piece of wood, tossed it into the box and hit it hard with a gloss coat. At this point, I'm about done with hardware store paint. The sample, however turned out a beautiful gloss yellow ... ”Walk away and go have a beer” The answer was staring at me but I didn't see it until after the beer. The sample piece had fully cured and regardless of what the can said, you just cannot give it a gloss coat after only 24 hours. A car painter I knew explained it to me years ago. The solvents travel through the surface, the wood filters it a bit and they out-gas. On metal, they hit the metal turn around and out-gas through the top coat. In this case, the solvents were reacting with the not cured finish. A lighter coating would not do it, but a slightly heavier coat would.
The Prowler sat for a full week after wet sanding out the crinkles, down to but not through the primer coat. Most of the yellow finish was on the airplane and the extra cure time did the trick. A final finish coat was applied with excellent results. For the “Painters Touch” spray can, let it cure for several days after the tack/first coat.
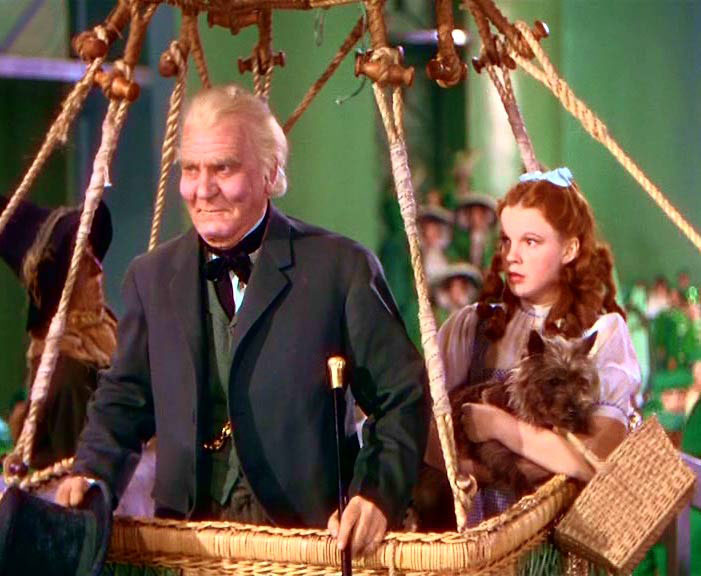
As the Wizard said to Dorothy “I DON'T KNOW HOW IT WORKS!”
This page was upated Feb. 27, 2013
|
|
|