Miscellaneous Stuff
Learning from building
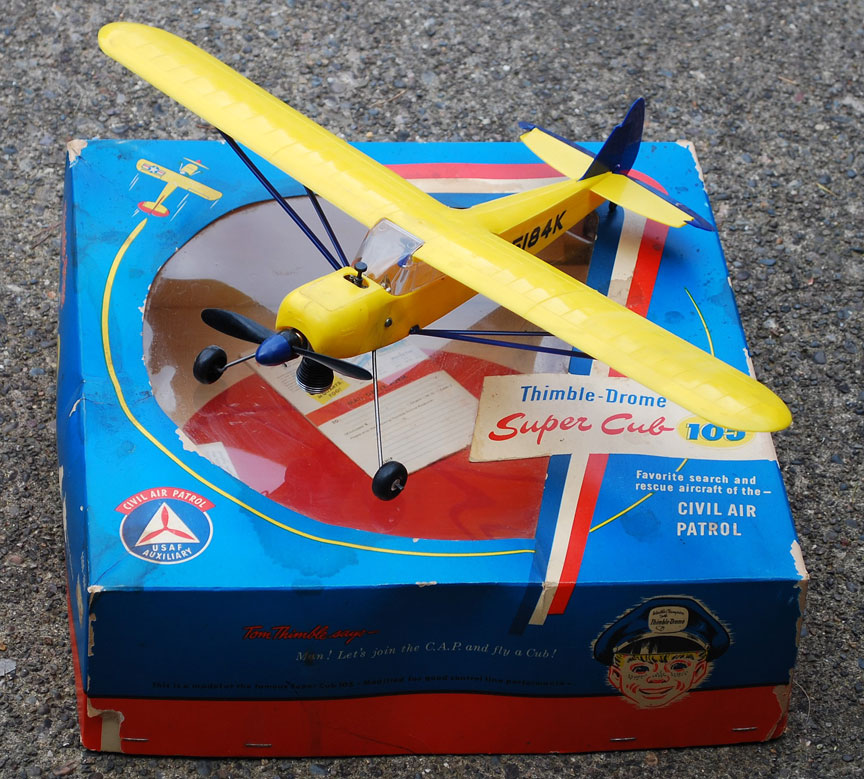
Author Gene Pape started control-line flying in the 1950s with a Cox Super Cub 105, but soon began building his airplanes. All photos by Gene Pape.
By Gene Pape
October 2020
The first of this is mostly me just babbling, so you may want to skip this first part.
My hobby has always been building and flying model airplanes. While I started with a Cox ready to fly Super Cub 105, the building part of the hobby quickly became perhaps more important than the flying. I progressed as many did from the Cox models to a Firebaby on which I could easily replace the broken parts. Then came the Scientific ½-A models. I then progressed from the Scientific ½-A models to a McCoy .35 powered Flite Streak and the ½-A models became something only learners flew. Still, there has always been a spot in my heart for the Scientific style all balsa models.
On one of the Facebook groups, I believe it was GAS TOY/.049 COLLECTOR, someone posted pictures of an all balsa ½-A profile model he had built in a day. This inspired me to get out one of the kits created for a Eugene Prop Spinners Crate Race event sometime in the late 1970s. I proceeded to build it in 44 minutes.
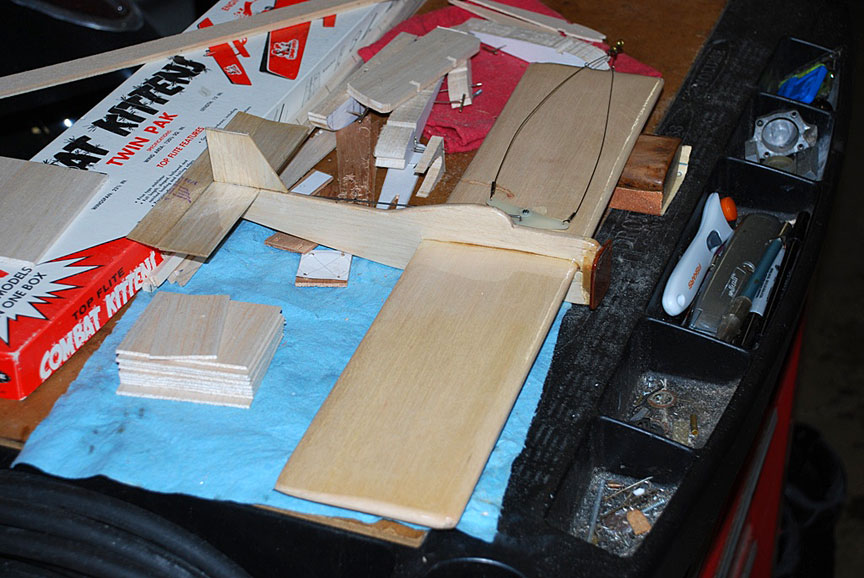
The Crate Race plane, built in 44 minutes.
That further inspired me to go on the Outerzone website and do this search for plans for Scientific models.
I then decided to build a ½-A profile Saber Jet which involved learning something useful.
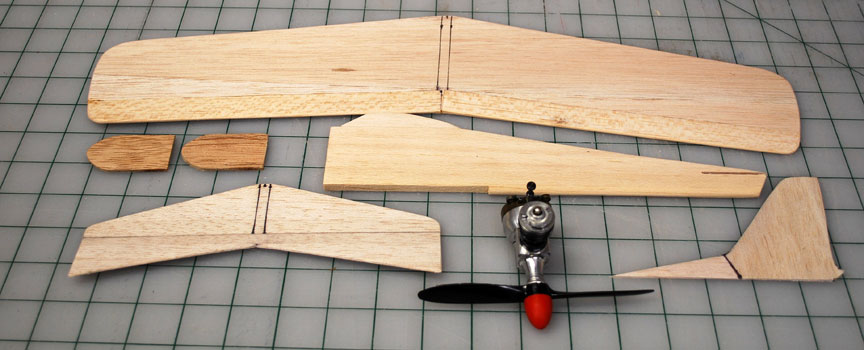
The Saber Jet parts.
This model was first covered with silver model covering film. Separating the film from the backing is usually a real pain for me. I have used two methods. My own personal favorite has been to stick a very sharp straight pin through the backing near the edge then slide it between the backing and the film to the edge. It is then easy to separate the two. Nearly no one but me uses this method. Most people put a piece of tape on the film and a piece on the backing then pull on the two pieces of tape. I seem to be too clumsy for this to work well for me. Since nearly everyone but me does it this way I kept trying to make it work. I finally came up with what to me is the magic solution. I wrapped a piece of masking tape around my index finger then reversed the tape and wrapped it around the other way so the sticky side is out. I did the same with my thumb. Now all I have to do to separate film from backing is grasp the material between my thumb and forefinger then pull them apart again. The backing comes away with one and the film with the other.
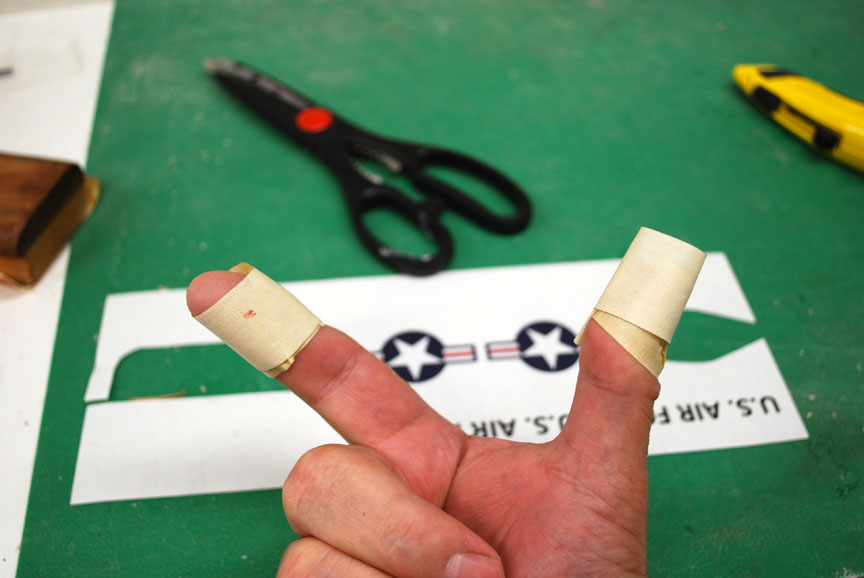
No, not the result of a slipped X-Axto blade. Just a clever way to create sticky fingers for separating film covering from its backing.
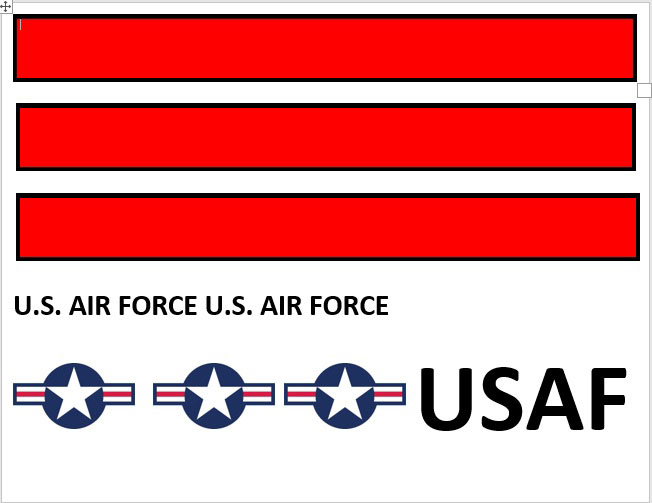 Trim on models has always been a shortcoming for me. John Thompson got me started using my printer to make AMA numbers and various logos some time ago. This model inspired me to do all the trim with my laser printer. I searched the web for “F-86 Saber paint schemes” and found what I needed. You can find nearly any kind of trim sort of thing by searching for clip art on the web. I found the roundels by doing that. Then I created a Microsoft Word document. First, I created a table with one cell. I formatted a black border around the cell, and filled the cell with red. Then I copied and pasted the table twice. The text was easy. I then imported the Roundel clip art and sized it properly . A little bit of moving things around resulted in this page which I printed on my color laser printer on full sheet clear label stock.
The trim was then simply cut out and applied to the model. This was tremendously easy and worked fine for this quicky ½-A profile model. The big plus for using a color laser printer is that the printing is fuel proof. It does have a few drawbacks. First, do not use an iron on laser-printed things. The printing will come off on your iron. Because of that, wrapping the trim around the leading and trailing edges of the wing and rudder did not work out well. I used some contact cement in these areas. For those of you who have inkjet printers, this has pluses as the trim can be ironed on and will adhere much better and the clear from the label stock will mostly disappear. The drawback is that it then must be fuelproofed. I have done this with clear covering material which is very easy. I have also sprayed fuel proof clear over the top. This must be done with very light coats or the ink will run. The wing for the Firebaby below, which is probably not the best example, was printed using an inkjet printer and covered with laminating film.
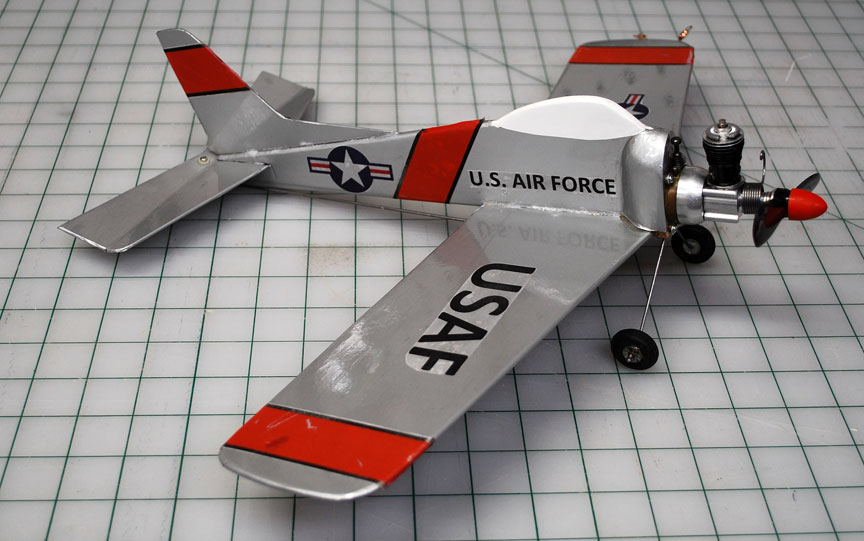
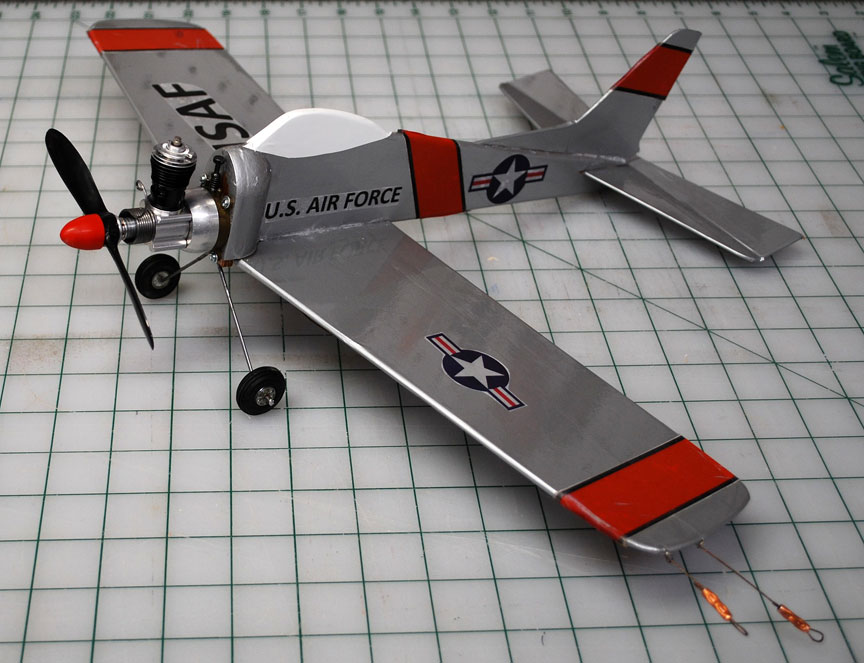
Ready to fly with laser-printed graphics.
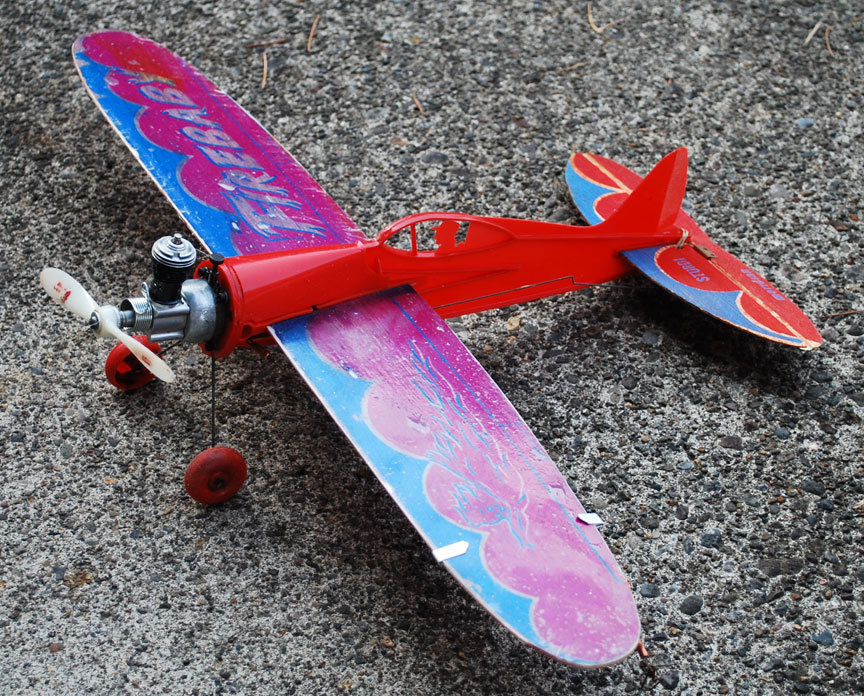
The Firebaby with inkjet graphics.
I'm sure at least one of you will tell me you told me about the following X number of years ago, but here goes, anyway.
I got a less-than-perfect-looking Fox Red Head Rocket from eBay recently and wanted to quickly clean it up before I stashed it in a drawer somewhere. I am almost completely out of Dawn Power Dissolver and didn't want to waste the last of it on that engine so I grabbed my spray bottle of Oil Eater that had been living in my misc. spray cleaner stash for about 30 years. After five minutes worth of scrubbing with a toothbrush it was one of the best looking Fox castings I have ever seen. I tried it again on a Black Head Combat Special with similar results. Then I tried it on a nasty Johnson CS and it worked great on that too. Oil Eater is available from Amazon but I recommend trying your local hardware or variety store as the gallon container will usually come with a spray bottle there.
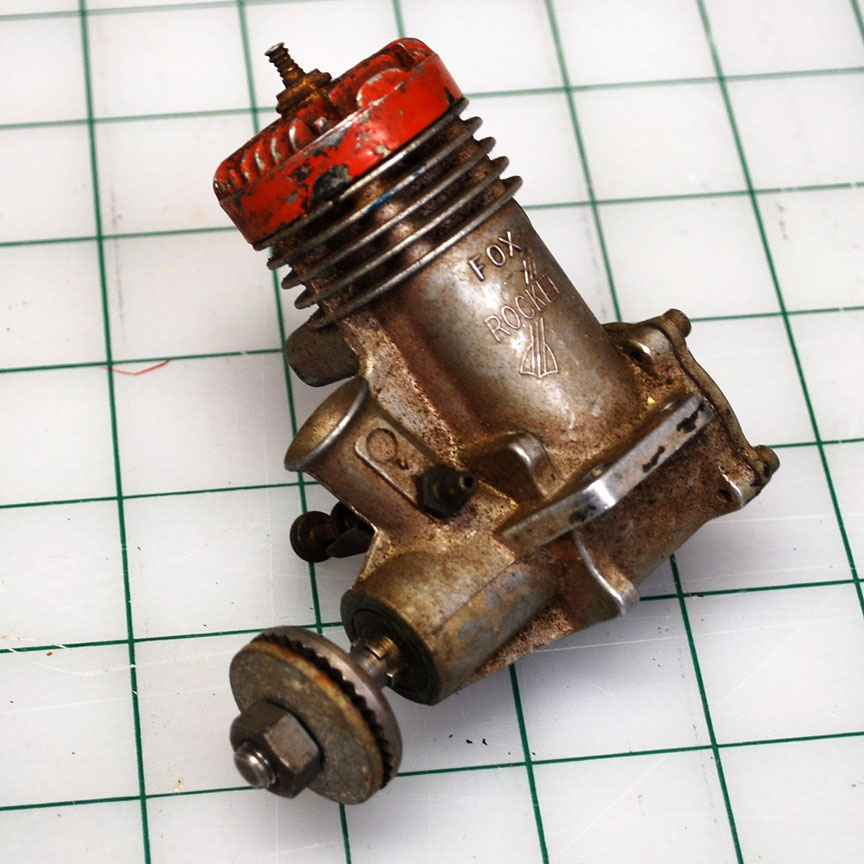
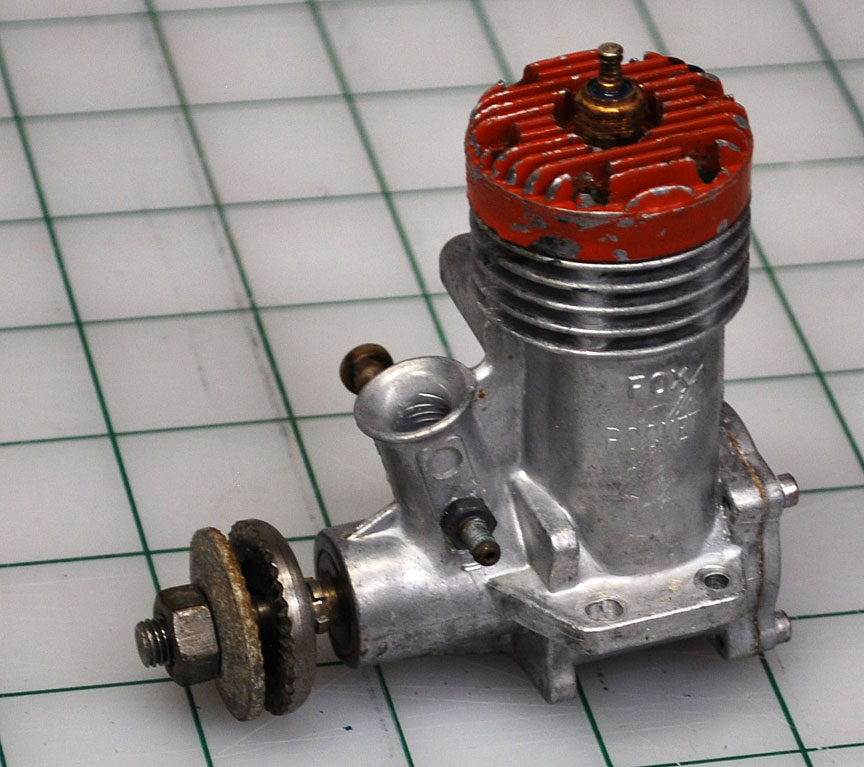
The Rocket, before and after cleaning.
Back to Miscellaneous Stuff main page
Back to Regular Columns
Back to Combat section
Flying Lines home page
This page was upated Oct.27, 2020

