![]()
Miscellaneous Stuff
Cleaning up an ugly engine
And a non-linear bellcrank
By Gene Pape
August 2020
I started playing with model airplane engines when I was about 10 years old. My sister bought me a Cox Super Cub 105 for my birthday. It didn’t take me long to use it up, but the Cox .049 still ran fine. Of course, I had to take it apart and put it back together just to prove to myself I could. I’ve been working on model airplane engines ever since.
Until a few years ago, the appearance of the engines was not an issue. By the time they got ugly I had always blown up enough parts in them that I simply threw them away and bought new ones. Sadly, now, in many cases there are no new ones to buy and, in most cases, parts aren’t even available. Somehow, I also got bitten by the Vintage Combat bug. While you can buy really nice Vintage Combat engines on eBay, the really nice ones tend to be very expensive. Also, I remember the life span of these engines being only a few months in my hands so buying just one really nice one probably was a bad idea for me. With that in mind I started buying the cheapest ones I could. These engines have had all good parts, but they were ugly. I’ve come to want my models and engines to look nice and I started trying to figure out how to make that happen.
Over the course of a few years I tried all types of things to make these engines look nice. I tried various solvents, crock pots with antifreeze — I even purchased a heated ultrasonic cleaner. These things all have their uses for cleaning engine parts, but making the castings look nice when the surface becomes discolored was nothing but drudgery.
When I started thinking I should have some Johnson engines, I became reacquainted with Kelly Crozier. He told me he used a tumbler for final finishing of all of his castings. He gave me all the details of what media to use and what tumbling solution to use and we both assumed I knew what type of tumbler to use. The tumbler I had was for cleaning large amounts of ammunition cases using walnut shells as a tumbling media. Surely, I thought, if that works on brass it will work great on aluminum castings. Wrong! Several months went by and I started to get serious about working on engines again. I ordered the tumbling media from eBay and the tumbling solution from Rio Grande Products assuming I would use it in my ammunition tumbler. Wrong! When the media arrived, it came in a very strong sandwich-size bag.
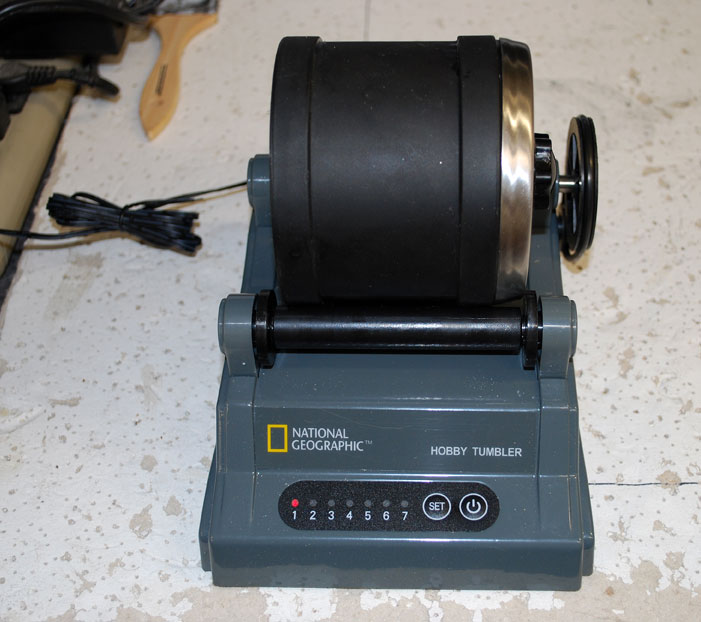
Self, I said, this is not going to be enough media for my tumbler and it costs over $75.00 per bag with shipping. What to do? Amazon, of course. I purchased a small hobby size rock tumbler.
Now I’m ready to do things the easy way.
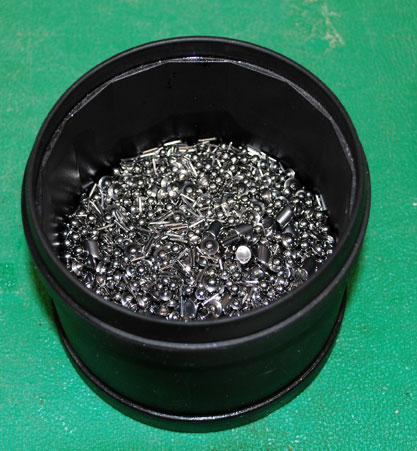
The tumbler and media. All photos by Gene Pape.
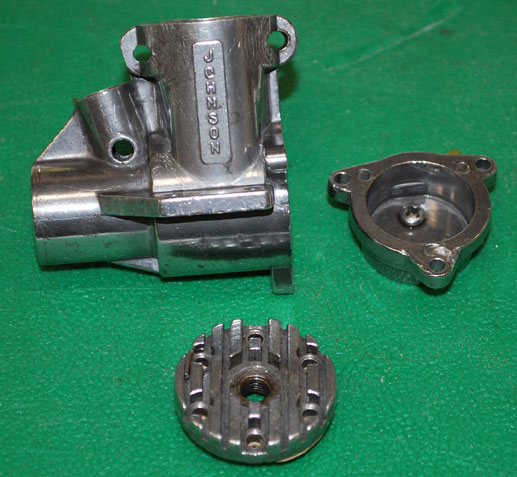
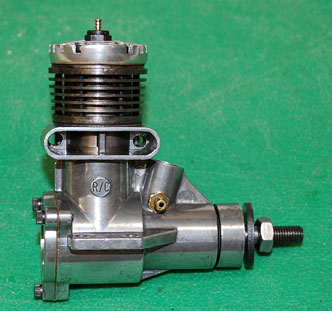
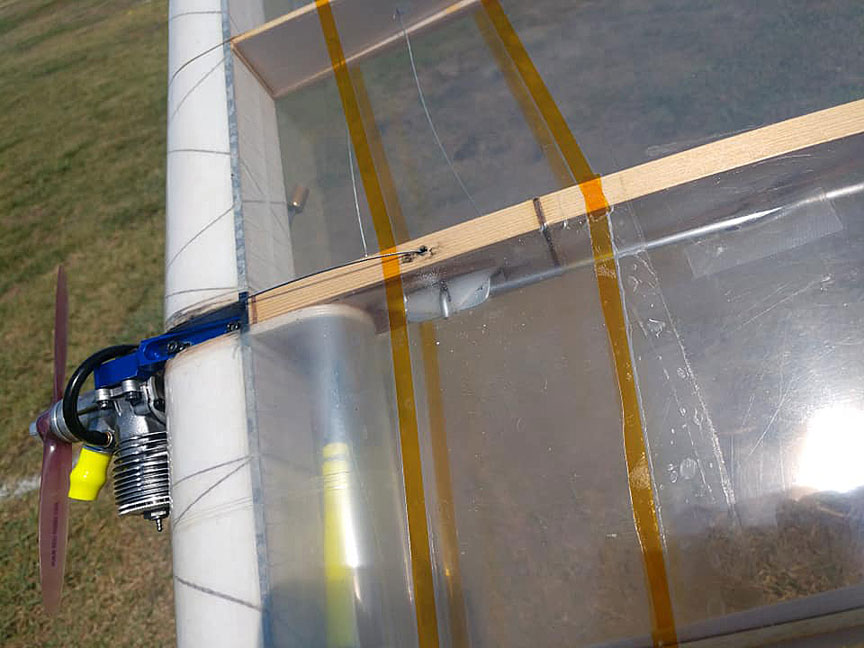
The first engine I used this on was a Johnson 36 R/C set up for control line use.

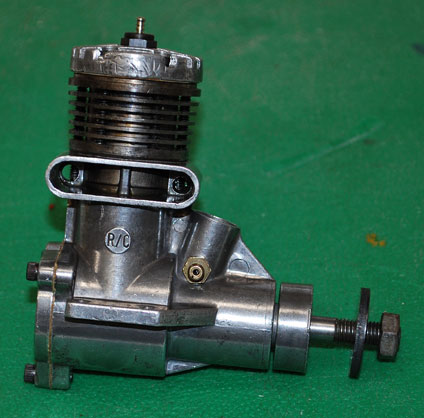
This particular engine had some very bad spots in the crankcase, but I just threw the castings into the tumbler and fired it up. They looked okay after about an hour, but I wanted better, so I ran them another half hour. They were still not quite what I wanted. I drained the contaminated tumbling solution and poured in new, then ran the parts another half hour. Much to my disgust, the castings were now all stained.

It was then I realized I had poured full strength tumbling solution into the tumbler. Being me, I then assembled the engine which while it looked pretty good, was not what I wanted.
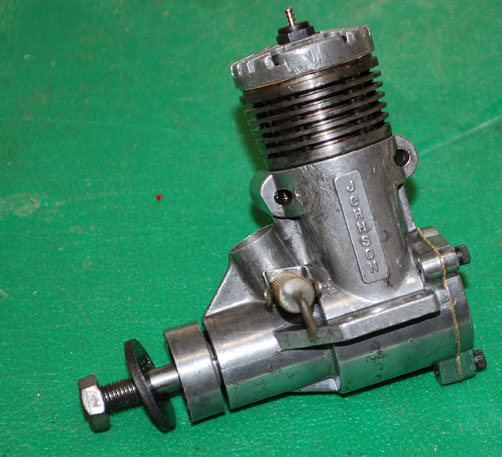
About a week later, I tore the engine apart again and used abrasives to smooth out the worst damage and some severely etched spots in the castings, then tumbled them for an additional two hours to end up with the results I set out to obtain to start with.


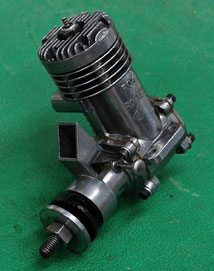
In between the first and second rounds of working on the Johnson, I found a really ugly twin needle bearing Fox Combat Special on eBay quite cheap.


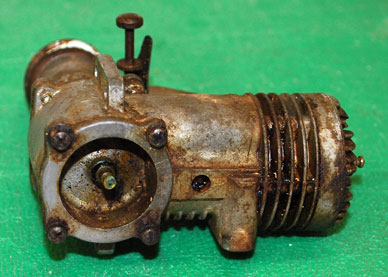
While it was really ugly, I could tell from the pictures that the castings were all very nice. When I got it, I immediately spent about half an hour with soap, water, and a toothbrush to see what I really had. I found a very nice, but absolutely frozen engine. I spent the next three days getting it all freed up and getting the bearings out of it. At that point, an hour in the tumbler and all the castings were actually too shiny.
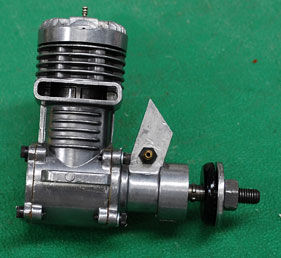

It will still take a bit of time for me to learn all the ins and outs of polishing engine castings with a tumbler, but thanks to Kelly Crozier, it was really quite painless. Now I can truly be happy with not only the way my engines perform, but how they look as well.
Rethinking the bellcrank
Bill Maywald recently posted this idea on Facebook. It appears that with a little getting used to, it would allow us to fly our models more precisely. If you look carefully at the first picture you can see that the bellcrank is slotted so the pushrod can move toward and away from the pivot. The second picture shows the slotted bracket then restrains the pushrod to linear travel fore and aft.

The result is that when the bellcrank is in the neutral position the pushrod is very close to the pivot. The further you rotate the bellcrank, the farther the pushrod is in relation to the pivot. This causes the controls to be less sensitive at or near neutral and more sensitive as the pivot moves away from the bellcrank as you add in control.
That’s it for this month. Here’s hoping we’re all back to normal sometime soon.
Back to Miscellaneous Stuff main page
Back to Regular Columns
Back to Combat section
Flying Lines home page
This page was upated Aug. 30, 2020