|
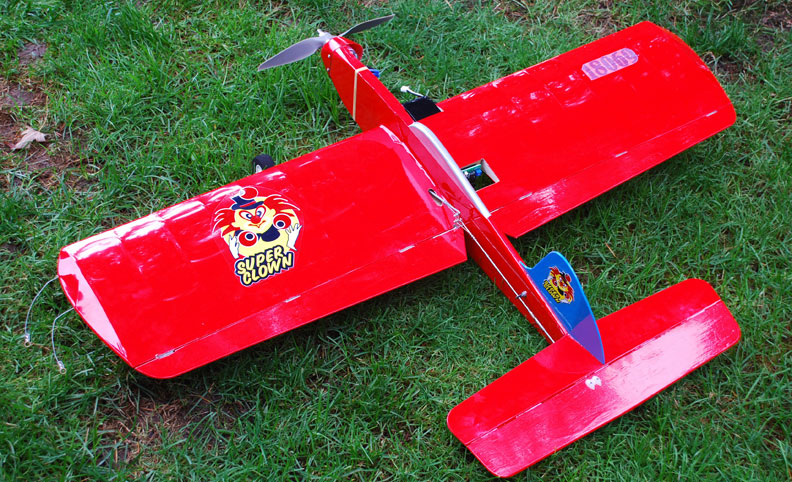
The Elecric Super Clown, ready to fly. Gene Pape photo. Schoolyard solution: The Electric Super Clown projectBy Gene Pape For some time I have been considering an electric model to take advantage of living within a few blocks of a large, mostly unused, baseball complex in Eugene, Ore.. The loss of the Eugene Prop Spinners' flying field at the Eugene Airport increased the urgency of this. After having spent the summer driving to Salem to test fly and flying at contests, things finally settled down to the point where I had time to get serious about the project. I spent some time talking with Prop Spinner Jim Corbett, who has some experience with electric control line models, and he suggested I purchase a package of everything needed from one of the various vendors. I did some surfing online and decided on the Brodak ARF Electric Super Clown and the Electric Power Package they have for this model. The only things you need to supply to build this model are adhesives of your choice, a 12-volt power source for the battery charger and three M3 X 8mm screws to mount the electric motor. Wheels, horns, etc. are all included.
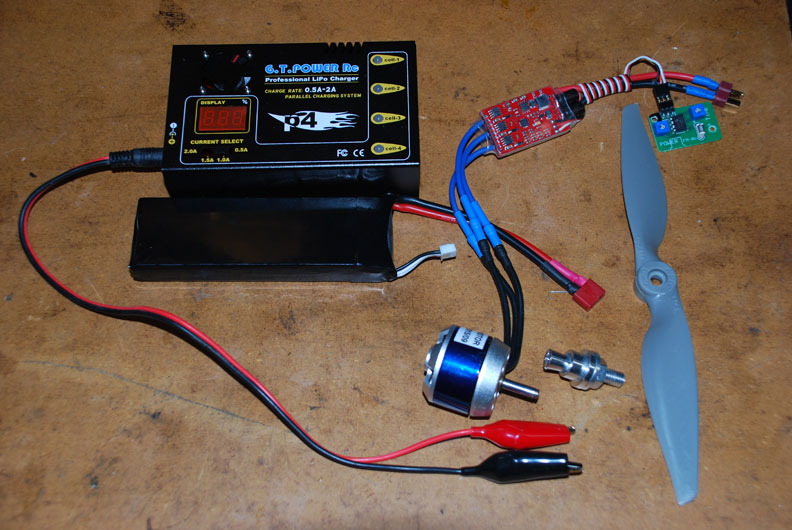
The electronic parts. Gene Pape photo. Since I am new to electric-powered models and haven't built a plane with what most of you consider normal hinges in a lot of years, I ran into a few snags. First, the power package I received did not include the timer. The instructions also show a separate switch which also was not included. I called Brodak Manufacturing Co., and they referred me to Dennis Adamisin, who was happy to tell me what I needed and what I needed to know. Brodak shipped the timer (which has the switch built in) to me by express mail, and I was set to go.
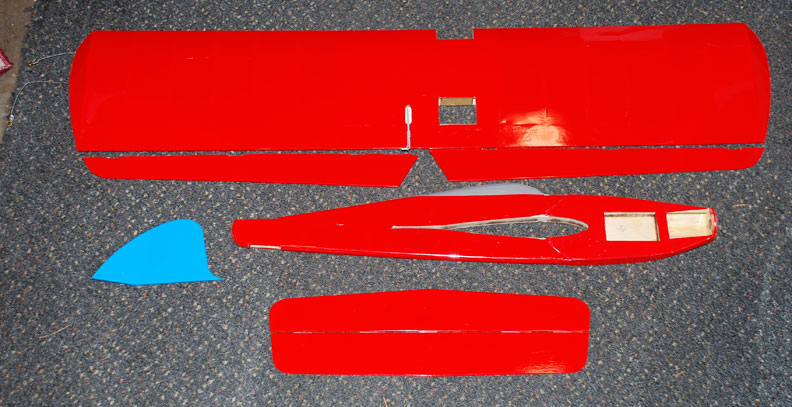
The ARF kit, before assembly Gene Pape photo. My next problem was trying to install the flap hinges using cyanoacrylate as recommend in the instructions. The last time I used this type of hinge, I installed them using yellow wood glue, and all went well. For me, I did an excellent job of gluing the hinges solid with the c/a. All else went pretty much according to the instruction books (Yes, I did read them). When John Thompson and I took the plane out to test fly it at the local school, the Clown lived up to its name. I knew before I flew it that the motor speed could be adjusted. What I didn't know was what I would want to adjust it to. The Clown didn't want to rise out of the tall grass at the local baseball field, so John hand-launched it. It took off and flew well enough level, but seemed a bit underpowered. When I tried to do a large inside loop, it started to lose line tension as it neared the top. I started running backwards to keep the lines tight, slipped on the wet grass and fell. I kept my focus on the model and completed the loop, but couldn't get back on my feet and fly the model level at the same time. The result was an abrupt landing that broke my only prop. I took the Clown home to prepare for it's next outing. I cleaned it off, and patched the hole one of the wheels had put in the wing during my abrupt landing. I then checked the motor RPM with a tach. I had been led to believe that 10,000 rpm should be about right. That is what the motor was running as supplied. I adjusted the power pot to 12,100 rpm for the next test. I purchased two new props from Eugene Toy & Hobby. I also had purchased some additional batteries from Hobby King so I could make more than one flight. The following weekend was the Prop Spinners club meeting. After describing the project at the indoor club meeting, most of the club members came out to see the finished project. We then caravaned to the ballfields that are very near my house for more flying. With the duration timer set for only two minutes, John and I both did brief test flights. The Super Clown was now solidly on the end of the lines and seemed ready to see if it could do the AMA pattern. I adjusted the timer to what I thought would be five minutes, and turned John loose. He got up to the overhead eights when the timer announced it was going to shut down. It appears that with a bit of trimming, the Clown will be something I can take to the nearest schoolyard and practice the pattern with. If you have been considering building an electric powered control line model, but don't have a clue where to start, I strongly recommend this combination. For me, it is now time to mount an electric motor on a combat plane so I can enjoy the quiet flying. Thanks to Jim Corbett for the help getting me started, and Jim Mackin for the computer power supply for the battery charger. Other sources are:
The attached Excel spreadsheet allows you to determine the electric motor size and battery size for your application by entering the gllow engine and flight duration. Flying Lines home pageThis page was upated Oct. 24, 2013
|
||